
Learn How To Use Rainbow Wallet and Wagmi By Creating A Tips Button

Learn how to leverage Rainbow and Wagmi by building a simple Tips Button. Receive tips in crypto.
Step 1 Installation of Next Js and Rainbow
First, open your favorite Code Editor. I'll be using VS Code.
Next, install next js:
npx create-next-app@latest
After that specify the name of the project. I will be naming my project to tips-button.
Next, here are my settings when installing next js:
- Typescript = No
- ESLint = No
- Tailwind = No
- src/directory = No
- App Router = Yes
- Import Alias = No
Here I will use the settings with App Router. It doesn't matter if you use a different setting like pages/ or src/directory, because our focus is on the button component which you can later implement in your other React projects.
After installing Next.js, we will utilize the Rainbow Kit to connect the button with the blockchain wallet. The Rainbow Kit simplifies the process of connecting various components to the blockchain network. You can conveniently install the Rainbow Kit app and use the following command:
npm install @rainbow-me/rainbowkit wagmi viem
If you use App Router like me, please install 3 additional libraries needed by Rainbow:
npm install –save-dev encoding lokijs pino-pretty
If you are using the next version with src or pages, you can immediately check the following docs for setting up the Rainbow Kit . After you succesfully setting up Rainbow Kit, you can go to the Step 2.
For those of you who use the router app, let's continue by creating a new file in the app folder:
// app/providers.js
Now we have 3 files inside app folder:
app/
layout.js
page.js
providers.js
Let's working on providers.js. Open it and copy the code below:
// providers.js
import "@rainbow-me/rainbowkit/styles.css";import { getDefaultWallets, RainbowKitProvider, connectorsForWallets,} from "@rainbow-me/rainbowkit";import { argentWallet, trustWallet, ledgerWallet,} from "@rainbow-me/rainbowkit/wallets";import { configureChains, createConfig, WagmiConfig } from "wagmi";import { polygonMumbai,} from "wagmi/chains";import { alchemyProvider } from "wagmi/providers/alchemy";import { publicProvider } from "wagmi/providers/public";
Note: You can change polygonMumbai to any chains you want to use. Here's the list of networks you can import using wagmi/chains.
In this tutorial, I'll be using mumbai, a testne network on polygon chain. Since, I've already created my custom ERC20 token there.
Next, let's add code below:
// providers.js
const { chains, publicClient, webSocketPublicClient } = configureChains( [polygonMumbai], [ alchemyProvider({apiKey: process.env.NEXT_PUBLIC_ALCHEMY_APIKEY}), publicProvider(), ]);
const projectId = process.env.NEXT_PUBLIC_WALLET_CONNECT_ID;
const { wallets } = getDefaultWallets({ appName: "Tip Button", projectId, chains,});
const demoAppInfo = { appName: "Rainbowkit Demo",};
const connectors = connectorsForWallets([ ...wallets, { groupName: "Other", wallets: [ argentWallet({ projectId, chains }), trustWallet({ projectId, chains }), ledgerWallet({ projectId, chains }), ], },]);
const wagmiConfig = createConfig({ autoConnect: true, connectors, publicClient, webSocketPublicClient,});
For provider settings, it is recommended that we add a provider other than public. For that, I myself use Alchemy Provider. This provider will help us communicate with blockchain.
Step 2 Provider Settings
If you already have a blockchain provider, you only need to change Rainbow's default provider to the provider you are using. In this project, I will be using the Alchemy provider. Alchemy offers a free service which is more than sufficient for small to medium sized projects. You can register here:
https://alchemy.com/?r=4f336585888dec2a (We both will get $100 Alchemy credits if you signed up using this link and upgrade the plan)
After registering, you can go to the Dashboard section and click + Create App. After that, you will be taken to a view like this.
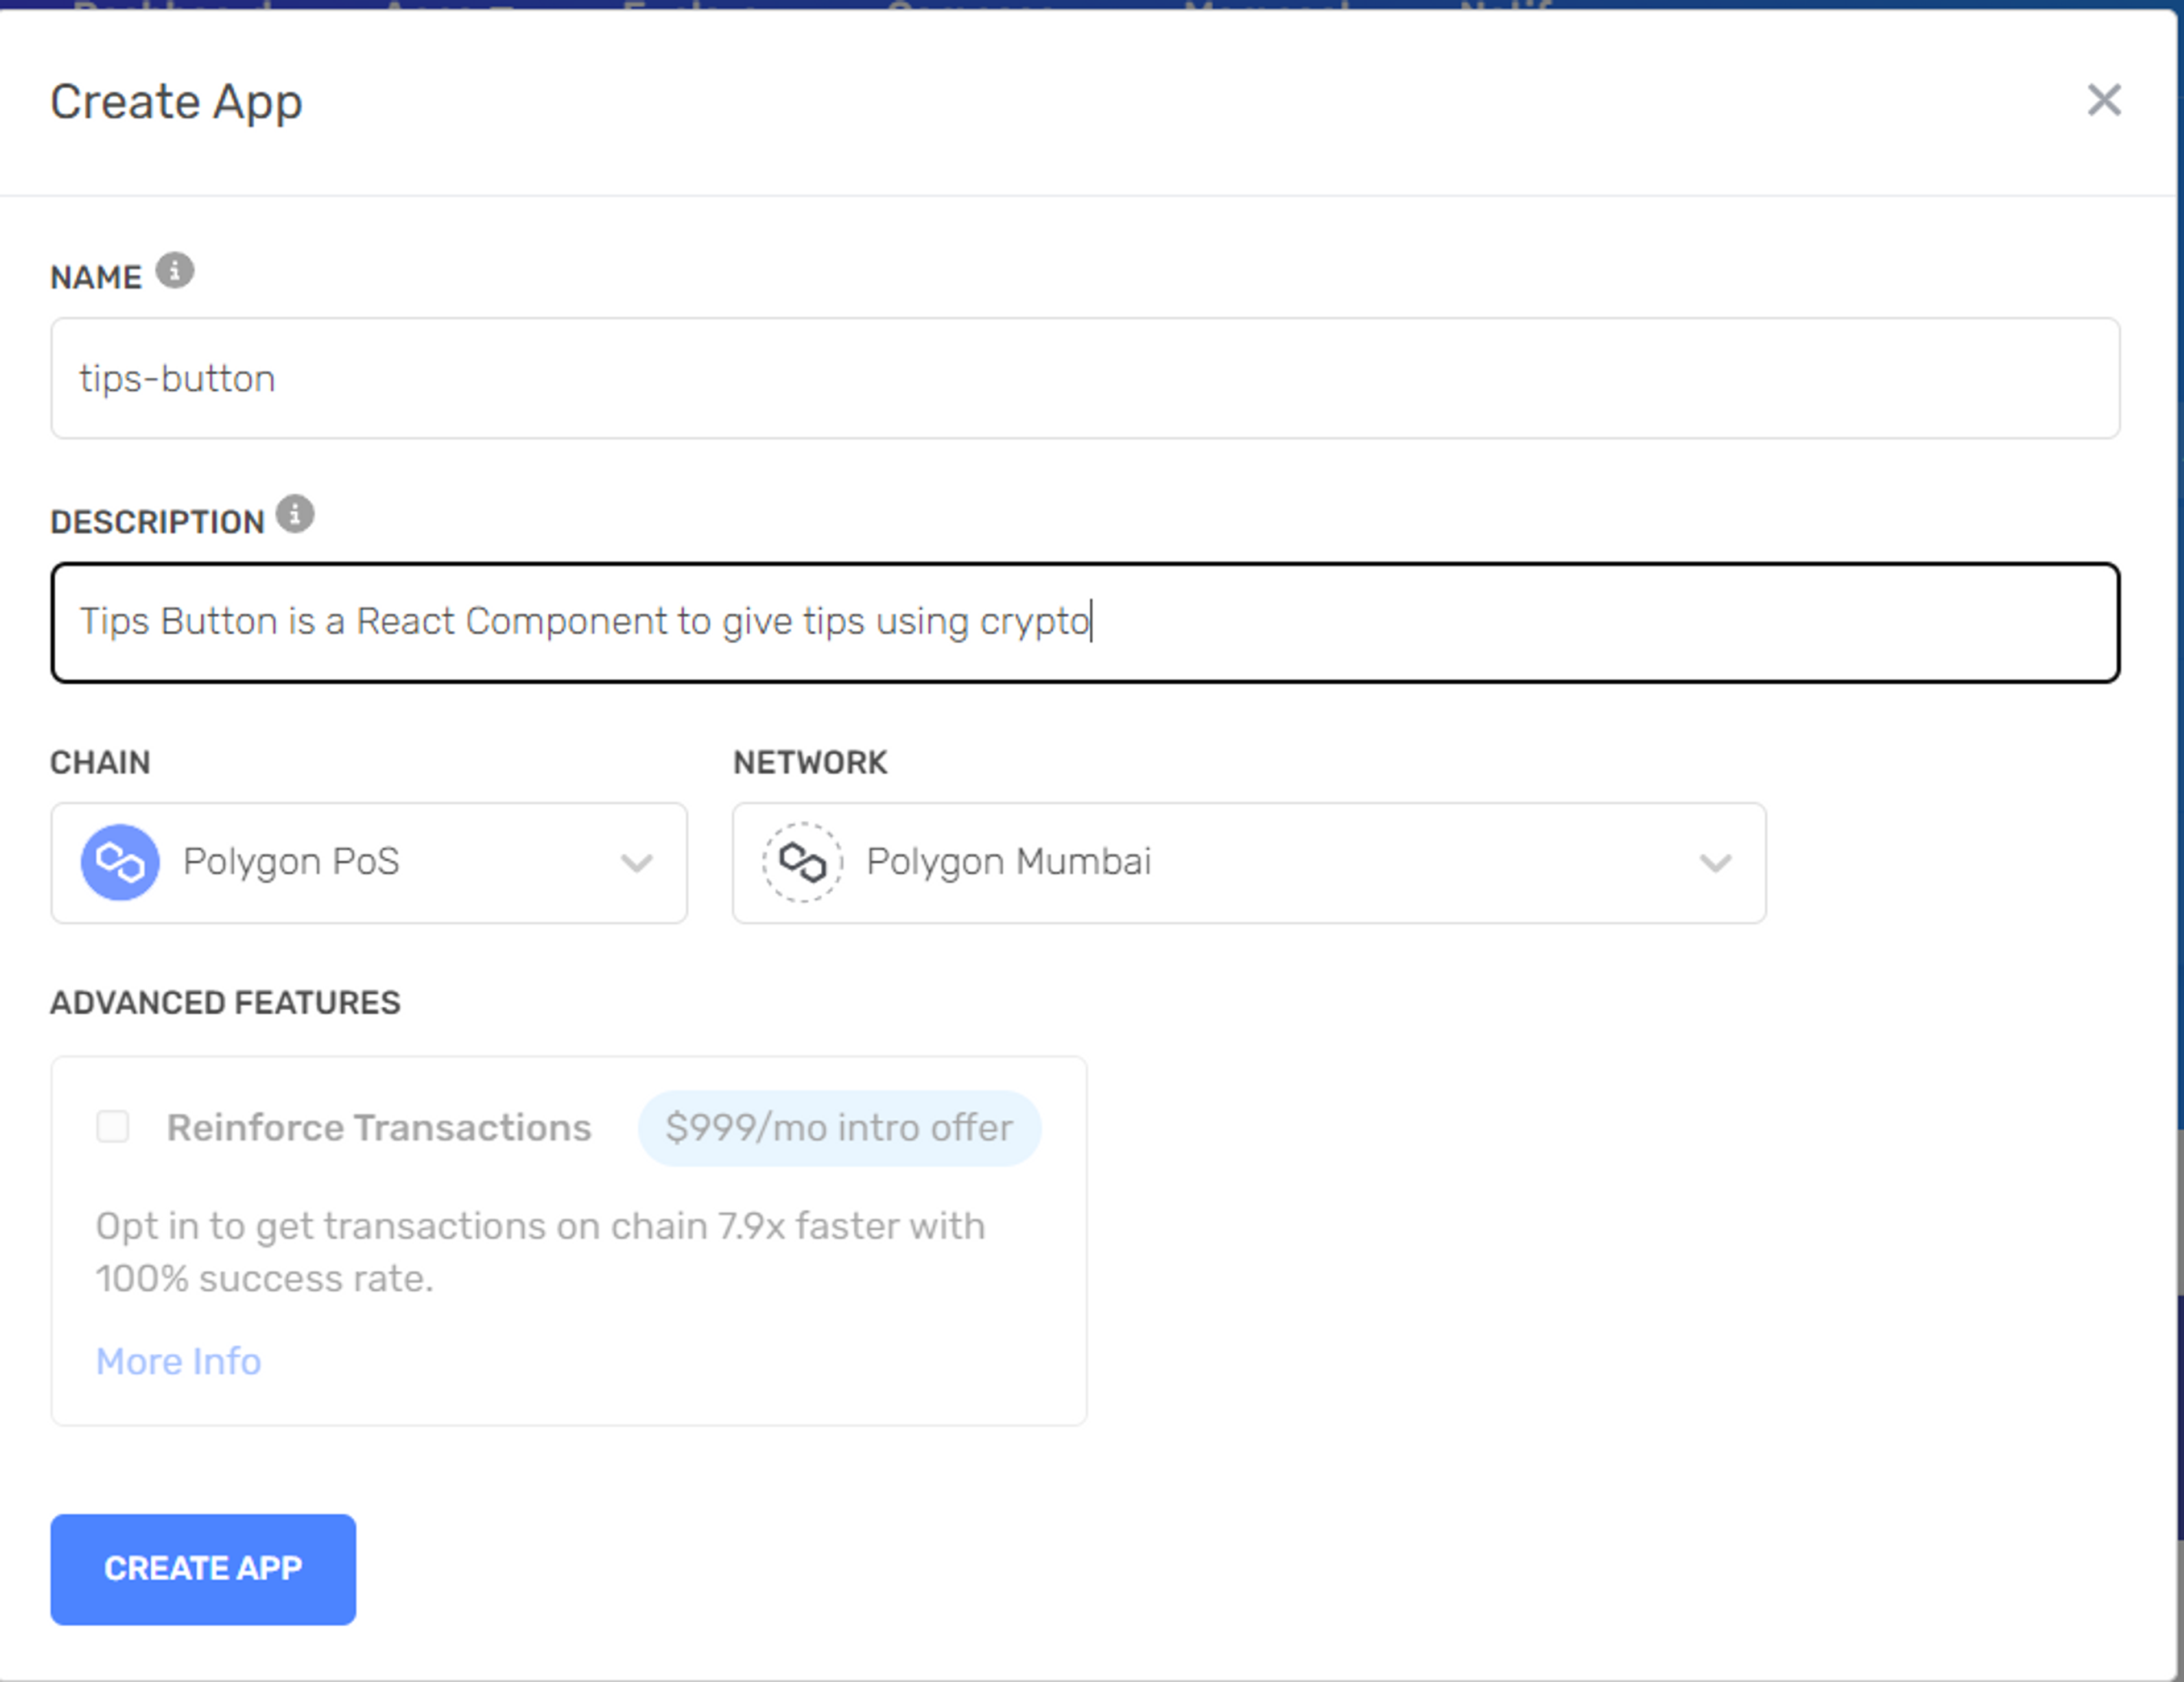
After that, click Create App, and then you can click VIEW KEY to retrieve the API KEY which we will then add to our application.
Step 3 Creating .env
Let's create a file in the root with the name .env.local, then we copy the API KEY from Alchemy to env.local:
// root/.env.local
// .env.local
NEXT_PUBLIC_ALCHEMY_APIKEY=YOUR_API_KEYThen update providers.js by adding process.env.ALCHEMY_APIKEY to the provider section, as follows:
// providers.js
const { chains, publicClient, webSocketPublicClient } = configureChains( [polygonMumbai], [ alchemyProvider({apiKey: process.env.NEXT_PUBLIC_ALCHEMY_APIKEY}), publicProvider(), ]);
Step 4 Adding WalletConnect Cloud
After that, we are also required to register with wallet connect to get a project id. You can register here: https://walletconnect.com.
After registering, please create a new Project in Wallet Connect. And then, copy your Project ID to .env.local, like this:
// .env.local
NEXT_PUBLIC_WALLET_CONNECT_ID=WALLETCONNECTIDThen, your project id settings will be like this:
// providers.js
const projectId = process.env.NEXT_PUBLIC_WALLET_CONNECT_ID;
const { wallets } = getDefaultWallets({ appName: "Tip Button", projectId, chains,});Alright, here's the full code of the providers.js
// providers.js
"use client";
import "@rainbow-me/rainbowkit/styles.css";import { getDefaultWallets, RainbowKitProvider, connectorsForWallets,} from "@rainbow-me/rainbowkit";import { argentWallet, trustWallet, ledgerWallet,} from "@rainbow-me/rainbowkit/wallets";import { configureChains, createConfig, WagmiConfig } from "wagmi";import { polygonMumbai,} from "wagmi/chains";import { alchemyProvider } from "wagmi/providers/alchemy";import { publicProvider } from "wagmi/providers/public";import { useEffect, useState } from "react";
const { chains, publicClient, webSocketPublicClient } = configureChains( [polygonMumbai], [ alchemyProvider({apiKey: process.env.NEXT_PUBLIC_ALCHEMY_APIKEY}), publicProvider(), ]);
const projectId = process.env.NEXT_PUBLIC_WALLET_CONNECT_ID;
const { wallets } = getDefaultWallets({ appName: "Tip Button", projectId, chains,});
const demoAppInfo = { appName: "Rainbowkit Demo",};
const connectors = connectorsForWallets([ ...wallets, { groupName: "Other", wallets: [ argentWallet({ projectId, chains }), trustWallet({ projectId, chains }), ledgerWallet({ projectId, chains }), ], },]);
const wagmiConfig = createConfig({ autoConnect: true, connectors, publicClient, webSocketPublicClient,});
export function Providers({ children }) { const [mounted, setMounted] = useState(false);
useEffect(() => setMounted(true), []);
return ( <WagmiConfig config={wagmiConfig}> <RainbowKitProvider chains={chains} appInfo={demoAppInfo}> {mounted && children} </RainbowKitProvider> </WagmiConfig> );}
Step 5 Update Next Config
After that, we need to update the next config, because Wagmi, one of Rainbow's default libraries, has changed to Viem. The following are the settings for the next config, so that errors don't occur.
// next.config.js
/** @type {import('next').NextConfig} */const nextConfig = { reactStrictMode: true, webpack: config => { config.resolve.fallback = { fs: false, net: false, tls: false }; return config; }, }; module.exports = nextConfig; Step 6 Update layout.js and page.js
Here's the code for layout.js
// layout.js
import { Providers } from "./providers";
export const metadata = { title: "Create Next App", description: "Generated by create next app",};
export default function RootLayout({ children }) { return ( <html lang="en"> <body> <Providers>{children}</Providers> </body> </html> );}Here's the code for page.js
// page.js
import { ConnectButton } from "@rainbow-me/rainbowkit";import TipsButton from "./components/TipsButton/tipsbutton";
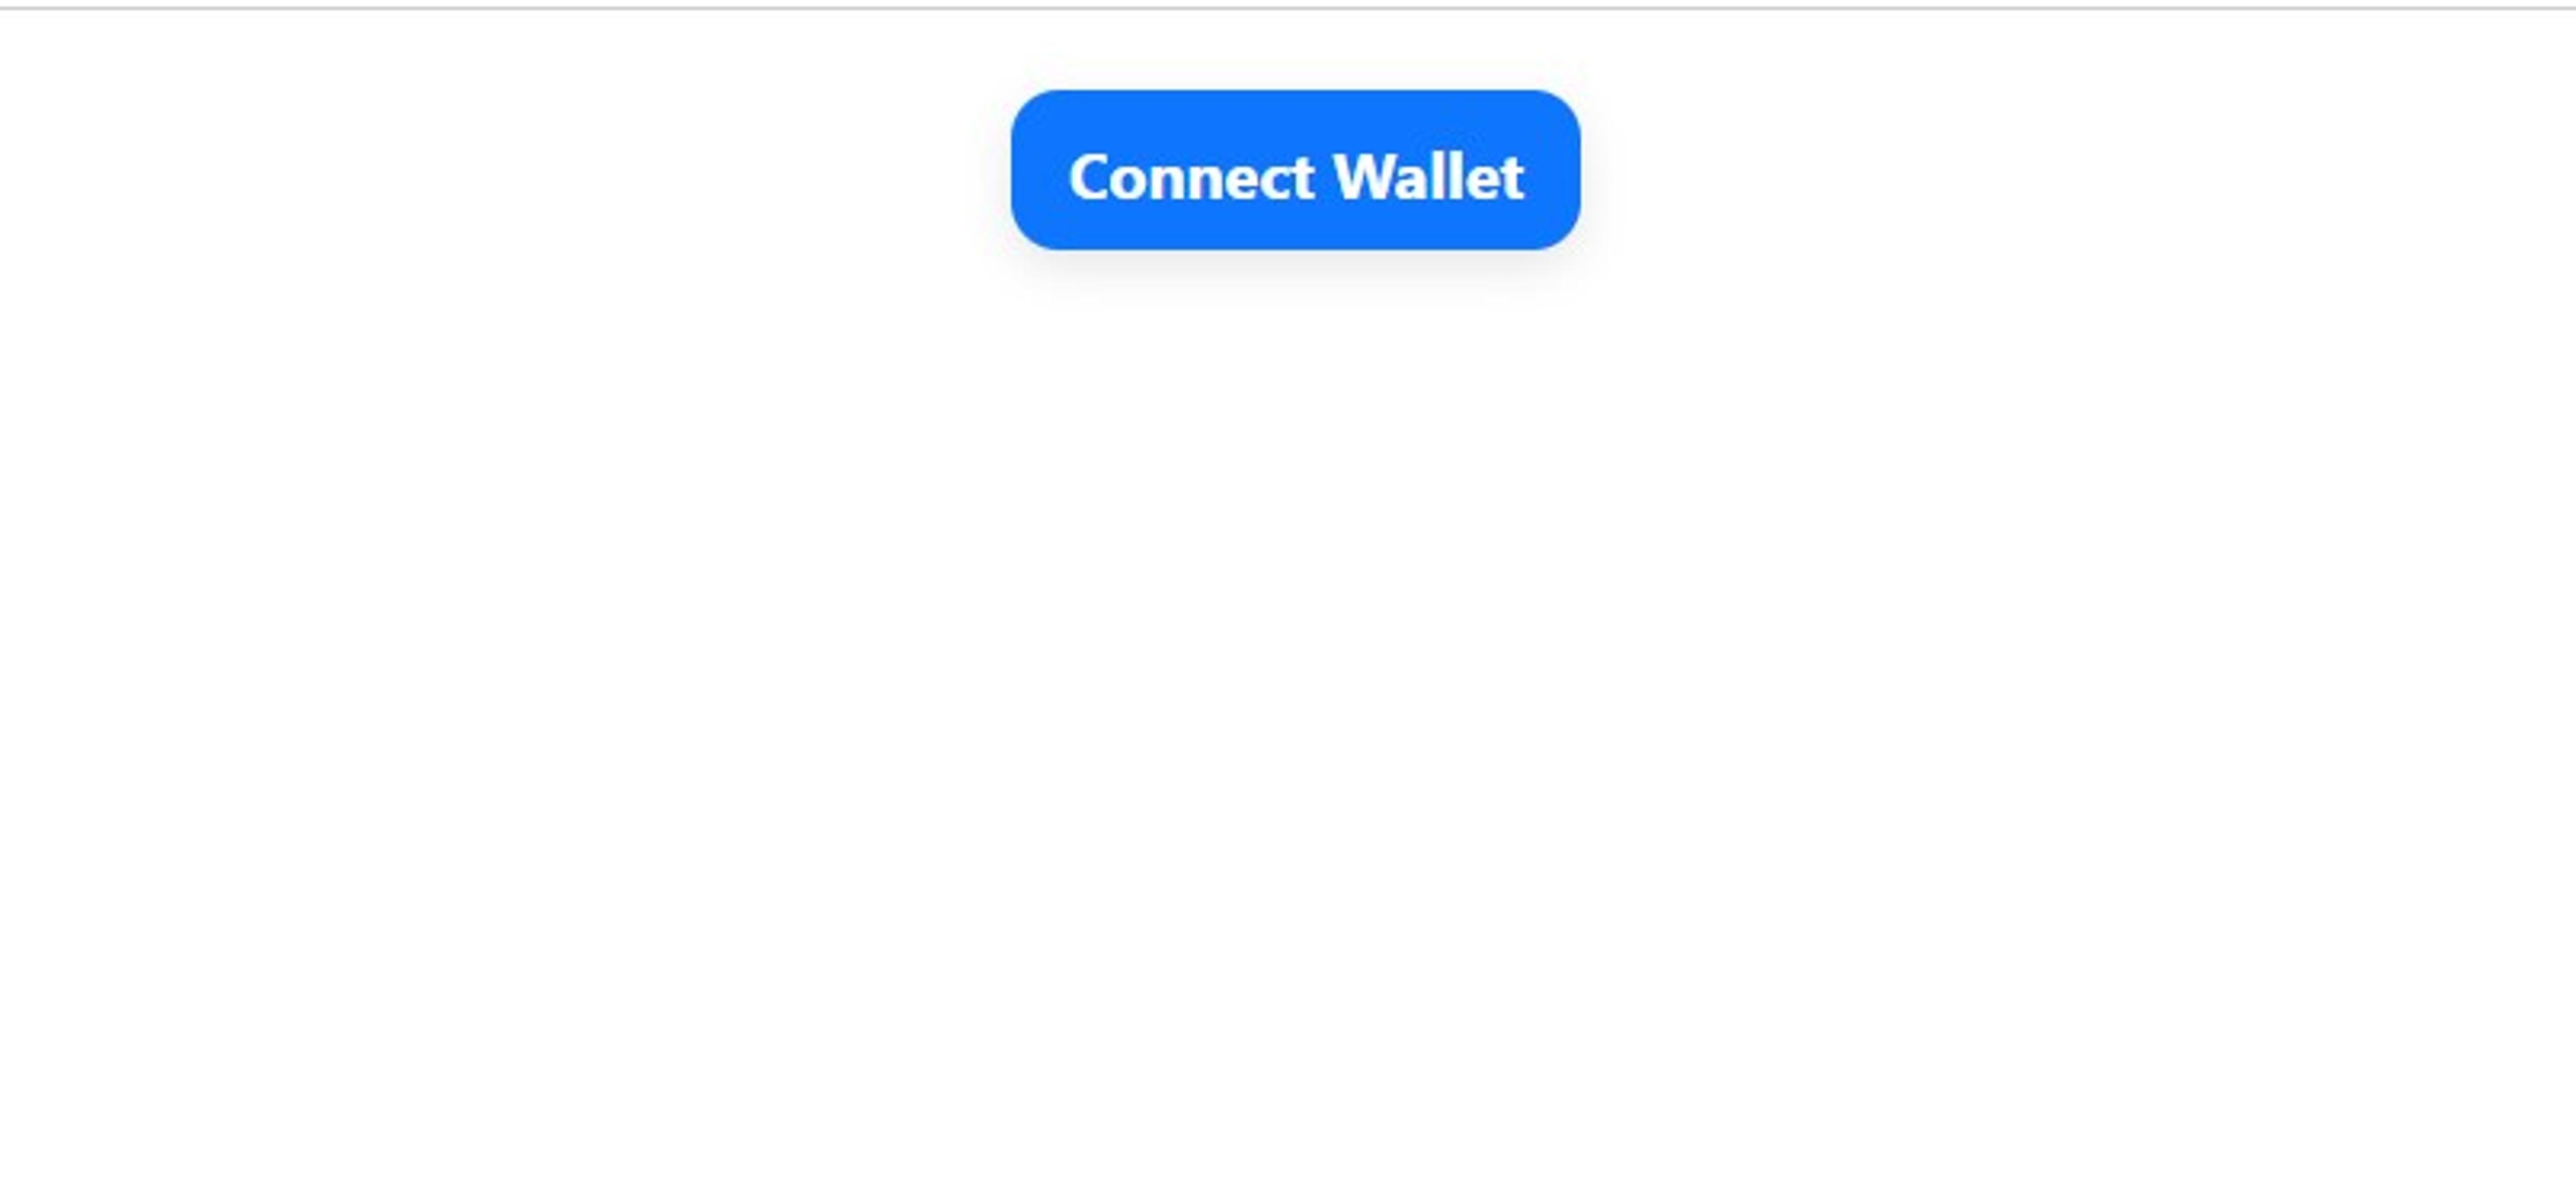
export default function Home() { return ( <div style={{ display: "flex", flexDirection: "column", alignItems: "center", padding: 12, }} > <ConnectButton /> <TipsButton /> </div> );}At this point, your button will look like this:
Step 7 Let's Create the Tips Button Component
First, create a folder called components inside the app folder. Inside of the component, we create a new file called tipsbutton.js.
// components/tipsbutton.js
"use client";import Button from "@mui/material/Button";import styles from "./styles.module.scss";import InputLabel from "@mui/material/InputLabel";import MenuItem from "@mui/material/MenuItem";import FormControl from "@mui/material/FormControl";import Select from "@mui/material/Select";import TextField from "@mui/material/TextField";import { useEffect, useState } from "react";import { useAccount, useToken, erc20ABI, usePrepareContractWrite, useContractWrite, usePrepareSendTransaction, useSendTransaction,} from "wagmi";import { tokenAddress, myAddress } from "@/app/const";import { parseEther } from "viem";After that, we also need to create a constant folder in the app, to store the destination address of the tipping and the address of the token we receive as the tip.
For example, if you want to receive USDT in Polygon Mainnet, put this contract address 0xc2132D05D31c914a87C6611C10748AEb04B58e8F in the token address below:
// const/index.js
export const myAddress = "0x5E63ddAe9dAe73BE06cD45843B2036D58BF24BAA" // Put your address hereexport const tokenAddress = "0xd497dF41dd9AB721CD8C23DC3CE4aD9F28E5Fd1F" // Put the token address you want to receiveI'll be using the token I've created before called TADT.
Next, we'll create our component like this. Here's the full code:
// components/tipsbutton.js
"use client";import Button from "@mui/material/Button";import styles from "./styles.module.scss";import InputLabel from "@mui/material/InputLabel";import MenuItem from "@mui/material/MenuItem";import FormControl from "@mui/material/FormControl";import Select from "@mui/material/Select";import TextField from "@mui/material/TextField";import { useEffect, useState } from "react";import { useAccount, useToken, erc20ABI, usePrepareContractWrite, useContractWrite, usePrepareSendTransaction, useSendTransaction,} from "wagmi";import { tokenAddress, myAddress } from "@/app/const";import { parseEther } from "viem";
const TipsButton = () => { const { address } = useAccount(); const [tokenSelect, setTokenSelect] = useState(""); const [tokenSymbol, setTokenSymbol] = useState(""); const [amount, setAmount] = useState(0);
const token = useToken({ address: tokenAddress, });
const tokens = [{ symbol: "ETH" }, { symbol: tokenSymbol }];
const tokenTransfer = usePrepareContractWrite({ address: tokenAddress, abi: erc20ABI, functionName: "transfer", args: [myAddress, amount], });
const ethTransfer = usePrepareSendTransaction({ to: myAddress, value: amount, });
const ethTransaction = useSendTransaction(ethTransfer.config);
const transaction = useContractWrite(tokenTransfer.config);
const handleTips = () => { if (tokenSelect === "ETH") { ethTransaction.sendTransaction(); } else { transaction.write(); } };
const handleAmount = (e) => { setAmount(parseEther(e.target.value)); };
const handleChange = (event) => { setTokenSelect(event.target.value); };
useEffect(() => { if (token?.data) { setTokenSymbol(token.data.symbol); } }, [token]);
return ( <> {address && ( <div className={styles[`tips-button`]}> <h1>Tips Me Crypto</h1> <FormControl className={styles[`select-token`]}> <InputLabel>Token</InputLabel> <Select style={{ width: 200 }} id="demo-simple-select" value={tokenSelect} label="Token" onChange={handleChange} > {tokens.map((token, index) => ( <MenuItem value={token.symbol} key={index}> {token.symbol} </MenuItem> ))} </Select> <TextField label="Amount" variant="outlined" className={styles[`select-token-input`]} onChange={(e) => handleAmount(e)} /> </FormControl> <Button variant="contained" onClick={() => handleTips()}> Tips Me </Button> </div> )} </> );};
export default TipsButton;If you are seeking for an explanation of the code, I put it in the bottom of this tutorial.
You can add a little bit styling. For me, I'll be using scss, so I'll create a new file inside components, called styles.module.scss.
// components/styles.module.scss
.tips-button { display: flex; flex-direction: column; align-items: center; width: 500px; margin: 30px 0;
button { width: 50%; }
.select-token { display: flex; flex-direction: row; margin: 30px 0;
.select-token-input { margin-left: 20px; } }}
If you want to use scss, don't forget to install sass:
npm i sass
At this point, you should be able to try to make a transfer. Here's the final look of the button, after user connects their wallet.

Got any issues, reach out to me via twitter or check out this project github.
Explanation tipsbutton.js
For you that want to learn more about what happens in tipsbutton.js.
I will explain which wagmi funtions I'm using, since I guess you guys already farmiliar with React.
Okay,
1. useAccount()
// tipsbutton.js
const { address } = useAccount();Basically, useAccount() is a hook to get the user's address. Rainbow already takes care of the rest, such as the appearance and the amount of balance that the user has. We can then use the address variable to display the form-tips. If address is display the form.
2. useToken()
// tipsbutton.js
const token = useToken({ address: tokenAddress, });
We use this function to get the ERC20 token object, such as symbol, name, decimals. However, in this tutorial, we only need symbols, which we need to input when a user chooses to tip using a particular token.
3. usePrepareContractWrite()
// tipsbutton.js
const tokenTransfer = usePrepareContractWrite({ address: tokenAddress, abi: erc20ABI, functionName: "transfer", args: [myAddress, amount], });We use this function to prepare the configuration that will interact with the blockchain. Here we need to enter the address, abi, the name of the function we want to call, and the arguments.
4. useContractWrite()
// tipsbutton.js
const transaction = useContractWrite(tokenTransfer.config);When the configuration is ready, we then use the useContractWrite() function to write data to the blockchain, via the write() function that we got from useContractWrite().
The data will then be sent to the blockchain when the user signs on the blockchain wallet used.
5. usePrepareSendTransaction()
// tipsbutton.js
const ethTransfer = usePrepareSendTransaction({ to: myAddress, value: amount, });
We will use this function for transfer native currency, like ETH in the Ethereum, Matic in Polygon, or BNB in BSC Network. And we only need to add to and value to use this function.
6. useSendTransaction()
Next, to send the native currency transaction, we use useSendTransaction() by calling the sendTransaction() function that we get from the hook.
// tipsbutton.js
const ethTransaction = useSendTransaction(ethTransfer.config);
Our handleTips function will handle two kind of transactions. Native currency or ERC20 token transfer.
// tipsbutton.js
const handleTips = () => { if (tokenSelect === "ETH") { ethTransaction.sendTransaction(); } else { transaction.write(); } };
Conclusion
I hope you enjoy this tutorial. Let me know what you think about this tutorial. Thank you for reading this far.